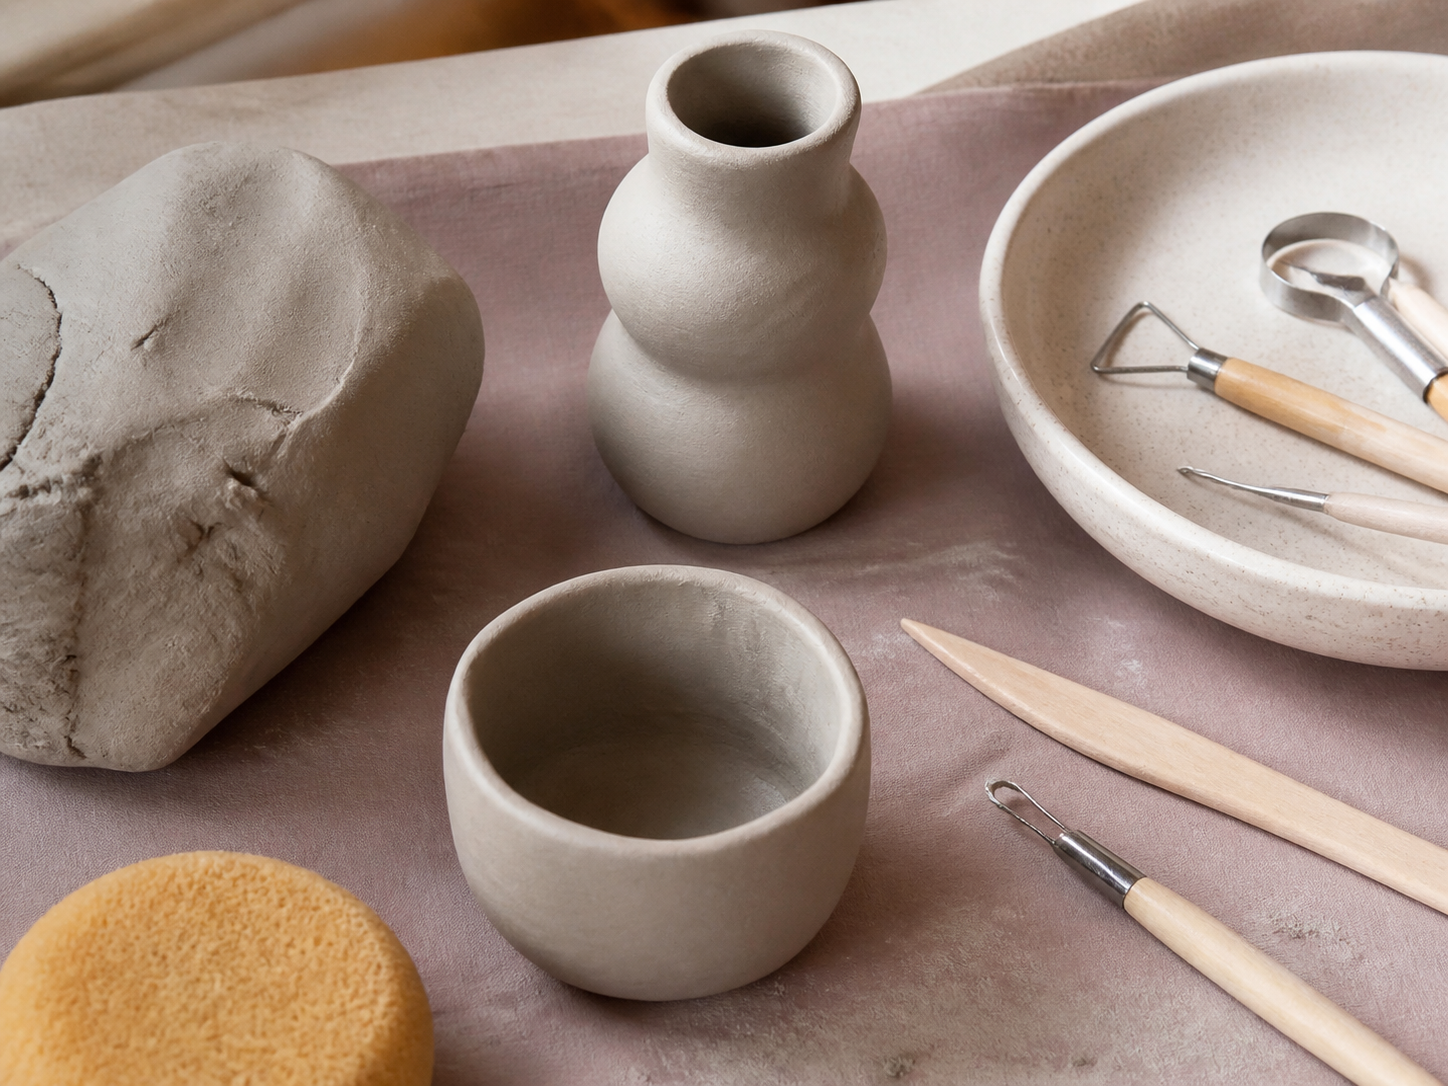
 Image unavailable
Illustrative image — products may vary.
Pottery Starter Kit: Shape something satisfying by hand
A pottery starter kit gives a new maker a starting point for shaping clay by hand and making small decorative pieces of their own.
Ad: GiftAim earns commission or fees from qualifying purchases and sign-ups through links on this page, at no extra cost to you. How we’re funded.
Start with something small they want to make
A little pinch pot, ornament or ring dish is a satisfying first hand-built project. For someone making at home, an air-dry kit can offer an introduction without organising a wheel or kiln session.
Choose around the making they would enjoy: smoothing a simple shape, adding texture or decorating a finished piece. Enough clay for a second go and a readable guide can be worth more than an impressive-looking collection of tools.
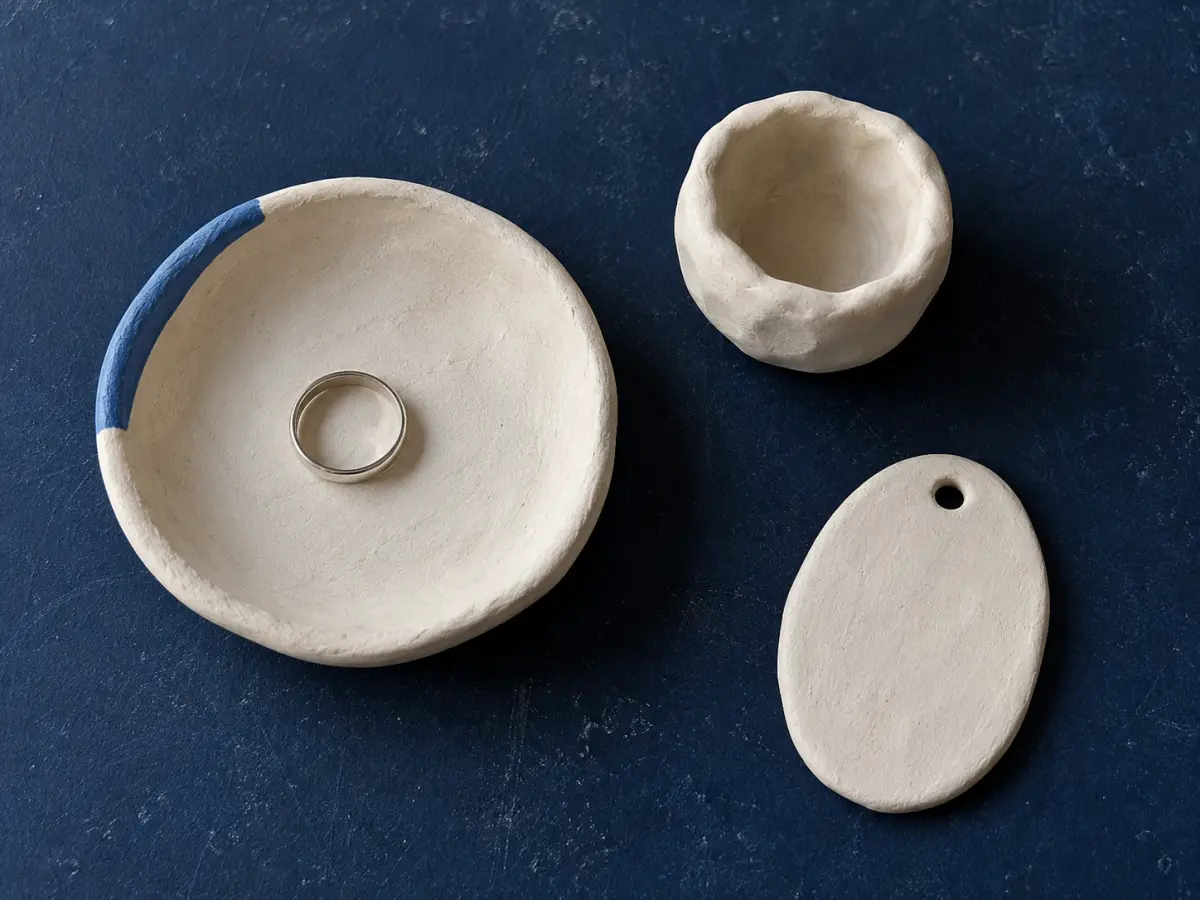
A shallow dish offers a small surface to smooth and decorate, ready for rings or other little keepsakes.
A pinch pot lets them shape the clay with their fingers and get a feel for the walls and rim without using a wheel.
A flat ornament can be textured or painted once prepared as directed. Make its hanging hole while the clay is still workable.
Know what sort of clay is in the box
Check that the clay suits making and drying at home. Air-dry clay hardens without kiln firing; ceramic clay sold for firing needs an appropriate process and access to a studio that will accept it. A household oven is not a replacement for a pottery kiln.
Some starter sets contain tools but no clay, while others supply a complete guided project. Read the contents and finishing instructions together. A photograph of a painted bowl does not mean paint, brushes or a suitable finish are supplied.
Compare the kit with the first project
A smaller, well-explained kit may be easier to use than a large assortment of accessories.
- Check the clay quantity against the number of makers and intended pieces.
- Look for clear hand-building, drying and decorating instructions.
- Confirm useful shaping tools and any sponge or working surface needed.
- Identify which paints, brushes and finishing materials are included or extra.
Plan somewhere the piece can stay while it dries
Making needs a protected table; drying needs a place where the piece will not be moved or knocked. Follow the supplied drying guidance, allowing for the thickness of the work and the conditions in the room before painting it.
Keep any unused clay as the maker directs, usually in airtight storage. Include missing surface protection or decorating supplies in the gift budget, and check age guidance for the tools and finishing products. Shaping, drying and decorating may happen over several days.
Keep the finished piece within its limits
A decorative bowl is not automatically suitable for breakfast, and a vase-shaped pot is not automatically watertight. Food contact, outdoor display and holding water each need specific support for the exact clay and finish; varnishing alone does not establish suitability.
For colourful miniature models, beads or charms, a polymer clay kit may be closer to the project they have in mind. That material has its own oven-baking directions and is different from fired ceramic pottery.
Already enjoying clay? A pottery tool set extends their shaping tools, while a manual banding wheel turns a piece for building and decorating. An electric pottery wheel introduces throwing and needs a separate workspace and finishing plan.
Alternatives to consider
-
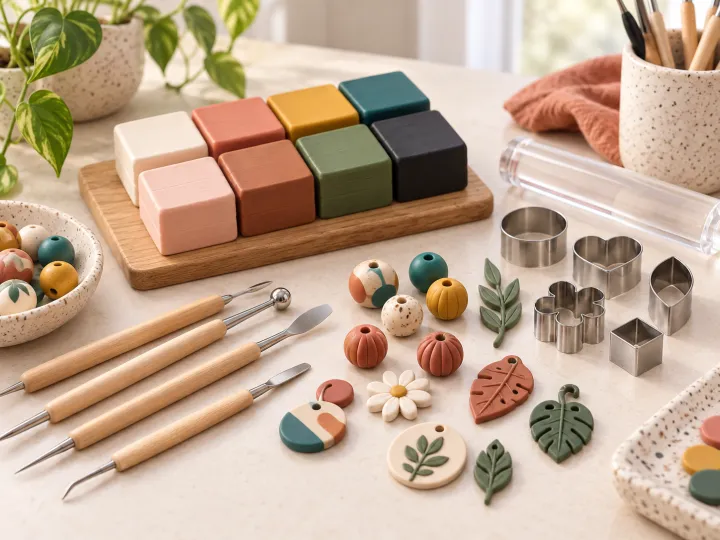
Polymer Clay Kit
For small models, beads and charms made with oven-bake clay, rather than hand-built air-dry pots.
-
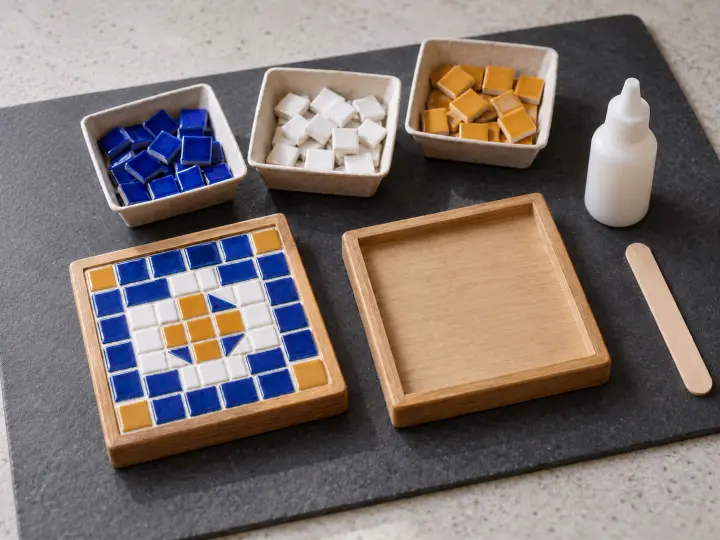
Mosaic Making Kit
A different hands-on project for someone who would rather arrange tiles into a pattern than shape clay.