 Image unavailable
Illustrative image — products may vary.
Punch Needle Kit: Make their first loops into something to keep
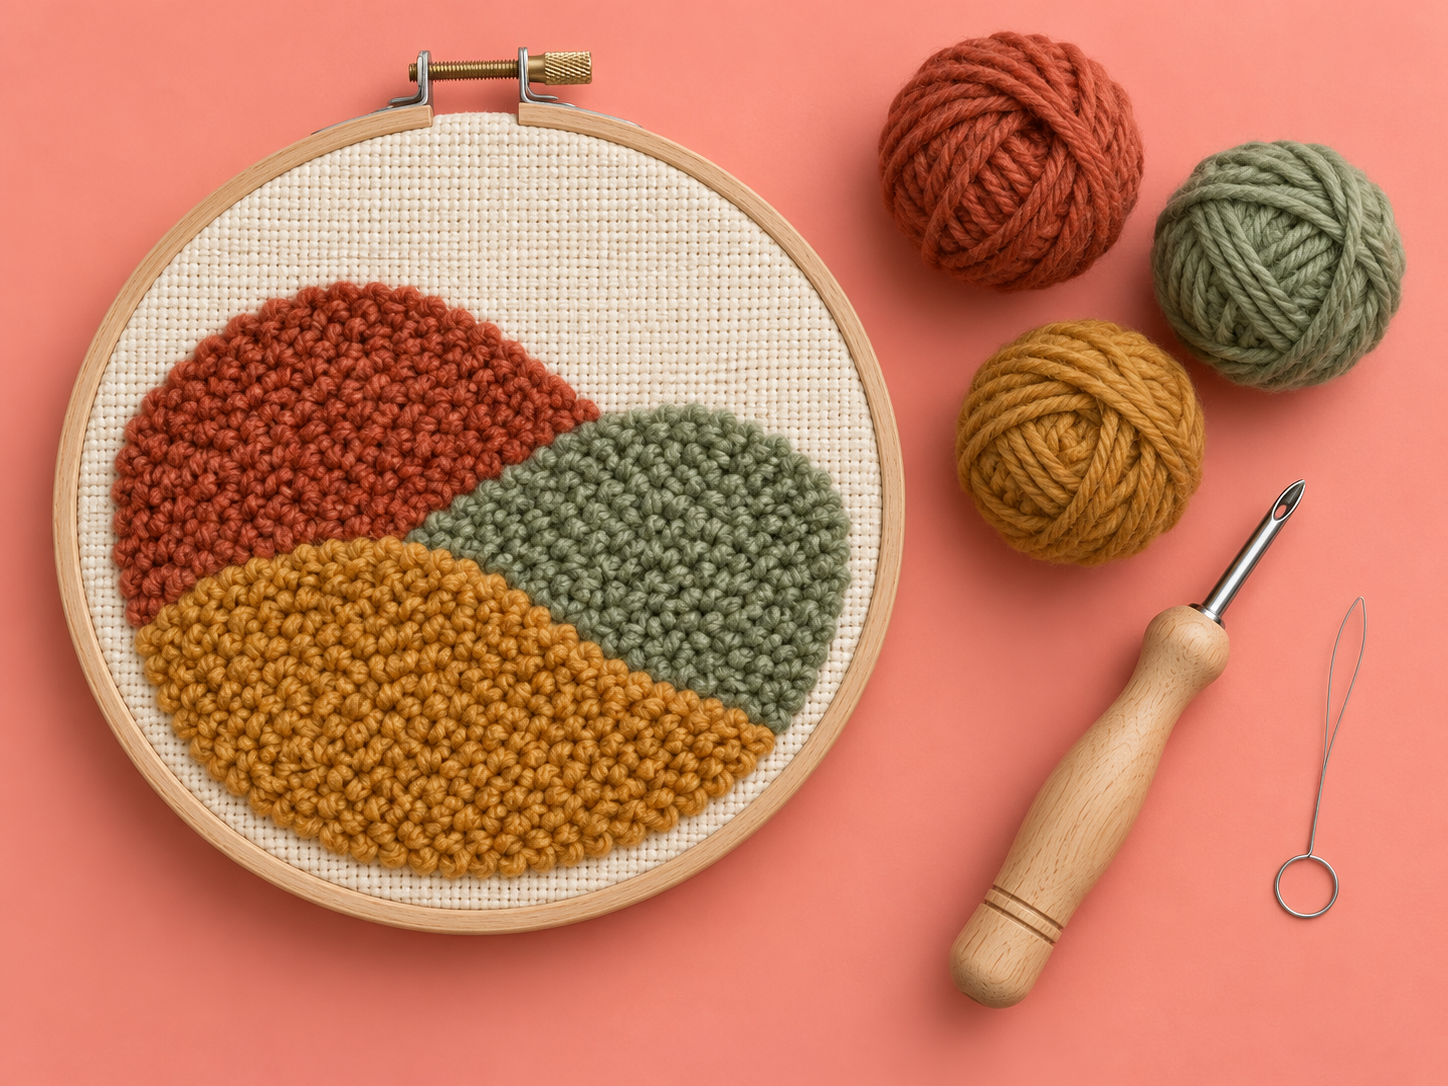
A punch needle project combines a hollow tool, fabric and matching yarn or thread to create a tactile looped design, with instructions to guide a new technique.
Ad: GiftAim earns commission or fees from qualifying purchases and sign-ups through links on this page, at no extra cost to you. How we’re funded.
Pick a design they want to spend time on
Punch needle pushes yarn or thread through fabric to create a looped surface, with flatter stitches on the other side. A project kit gives the recipient a design to follow while they learn how the tool behaves. The appeal lies in making that textured piece, so start with a motif they like.
Read the finished size. A detailed picture can conceal a very small project, while a pack of several coasters involves repeated making and finishing. Simple areas and clear boundaries may be a more approachable starting point than an intricate design with many tiny sections.
Treat the materials as a working combination
Fabric, needle size and yarn or thread must suit one another. A fine punch needle and a chunky yarn tool are not automatically interchangeable. A matched project is useful for a beginner because it avoids asking them to choose compatible supplies before they understand the technique.
Look for enough fibre to complete the design, the correct tool, a threader where needed and an appropriate hoop or frame. The fabric must be held firmly. Pre-printed outlines guide placement, but do not replace instructions explaining threading, the two sides of the work and how to form the loops.
Check finishing and learning support
The kit's contents should match the displayed result. Backing material, glue or hanging fittings may be needed to finish it; establish what is supplied and what must be bought separately. Do not infer washability or suitability for a heavily used coaster from an attractive display photo.
Choose instructions the recipient can use, whether printed or supported by accessible video. This remains a craft using a sharp tool: follow the manufacturer's age and supervision guidance, and allow for storing the needle safely between sessions.
Someone more interested in conventional hand stitches may prefer an embroidery starter kit. It teaches a different method and should not be treated as a source of interchangeable punch needle materials.